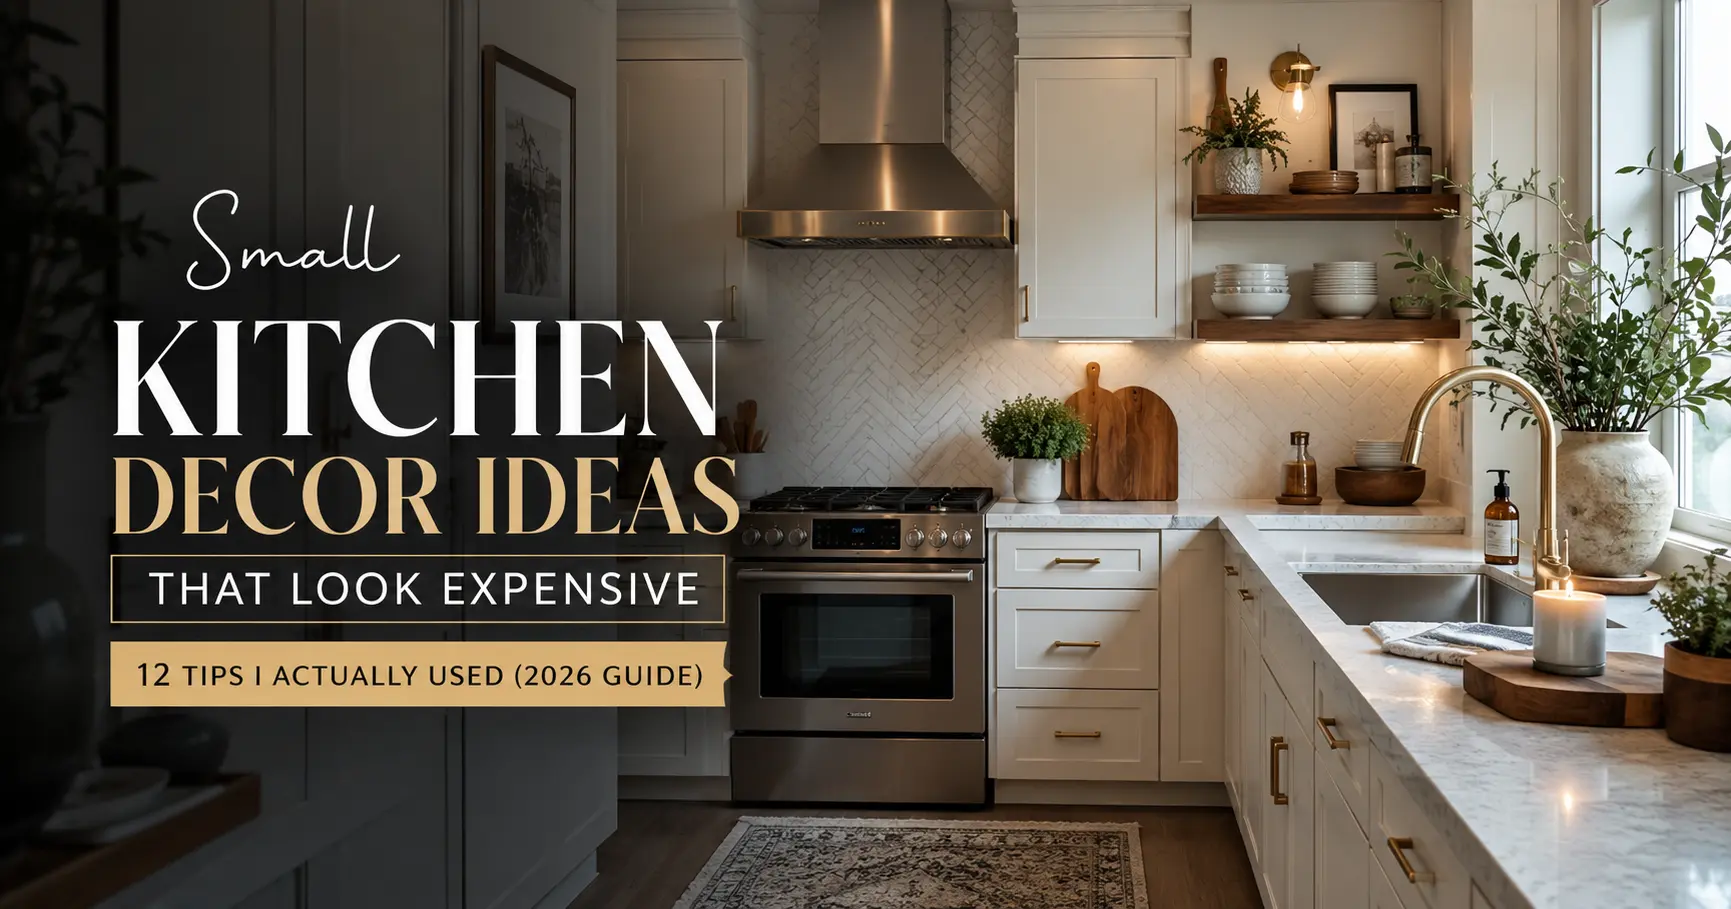
When I moved into my 68-square-foot apartment kitchen in Queens two years ago, the first thing my landlord said was, “Don’t expect much — it’s small.” He was right about the size. He was wrong about what I could do with it.
I spent about $640 over four months, working in small chunks between paychecks, and by the end, three separate friends asked if I’d hired a designer. I hadn’t. I’d just learned which upgrades actually move the needle and which ones are a waste of money — and that’s exactly what this guide covers.
If you’re searching for small kitchen decor ideas that look expensive, you’ve probably already scrolled through a dozen Pinterest boards full of $30,000 renovations that don’t apply to a rented apartment or a starter home. If you liked the approach in our guide on how to make your home look luxury on a budget, this article applies the same thinking specifically to small kitchens. This guide is different. Every idea below is something I either did myself or tested for a client, with real prices in US dollars, so you know exactly what you’re getting into before you spend a cent.
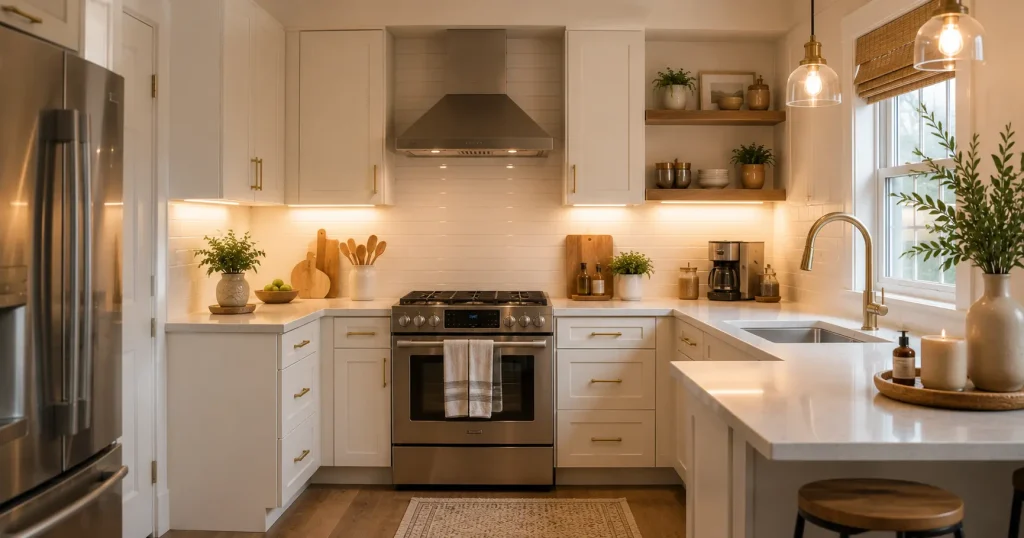
What Actually Makes a Small Kitchen Look Expensive?
Before buying anything, it helps to understand why certain small kitchens look high-end and others don’t — regardless of size. According to the National Kitchen & Bath Association, lighting and storage planning are consistently ranked among the top factors in how a kitchen is perceived, regardless of its square footage. After redoing my own kitchen and consulting on two others for friends, I noticed the same three things every time:
- Light bounces, it doesn’t get absorbed. Dark, matte, cluttered surfaces swallow light. Glossy, pale, and reflective ones bounce it around and make the room look bigger.
- Hardware and lighting do more work than paint. People assume a fresh coat of paint is the big fix. In my experience, swapping hardware and adding layered lighting made a bigger visible difference for less money.
- Fewer visible items, more intentional ones. Expensive-looking kitchens almost always have less stuff on the counter — not more decor, less decor, chosen carefully.
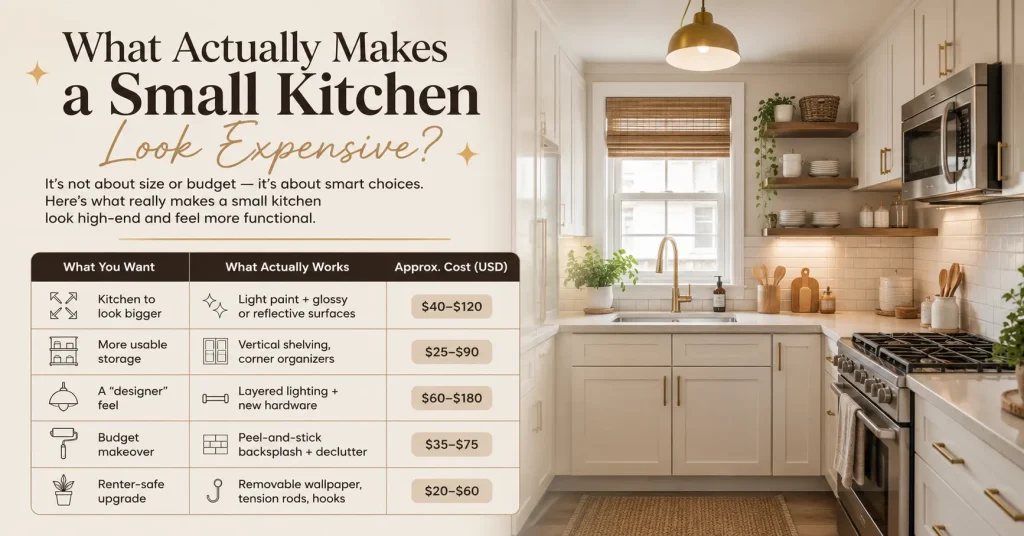
| What You Want | What Actually Works | Approx. Cost (USD) |
|---|---|---|
| Kitchen to look bigger | Light paint + glossy or reflective surfaces | $40–$120 |
| More usable storage | Vertical shelving, corner organizers | $25–$90 |
| A “designer” feel | Layered lighting + new hardware | $60–$180 |
| Budget makeover | Peel-and-stick backsplash + declutter | $35–$75 |
| Renter-safe upgrade | Removable wallpaper, tension rods, adhesive hooks | $20–$60 |
12 Small Kitchen Decor Ideas That Look Expensive (With Real Prices)
1. Repaint With a Warm Neutral, Not Stark White
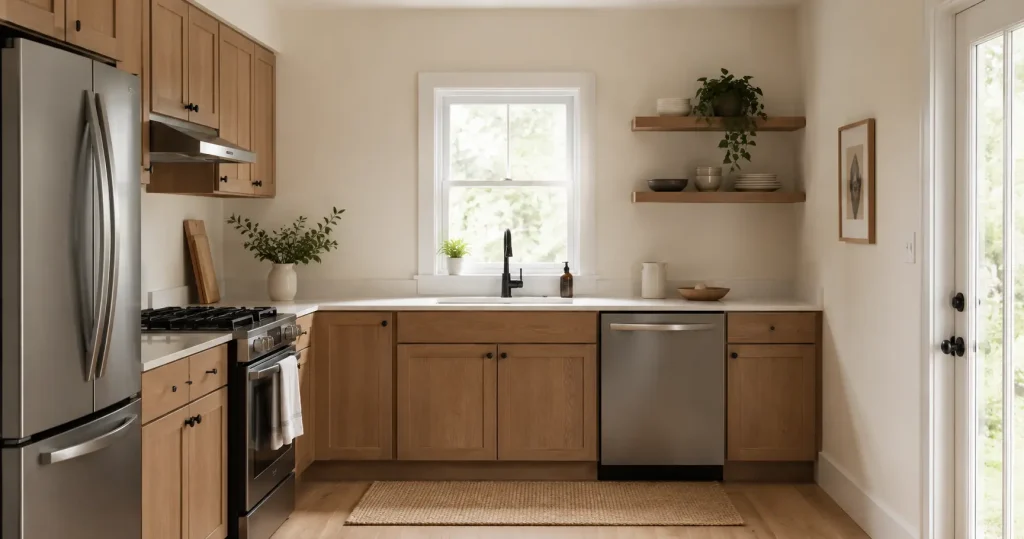
I used Behr’s “Swiss Coffee” (about $38/gallon at Home Depot) instead of a stark white. Pure white can look clinical and actually shows scuffs faster in a small space. A warm off-white or soft greige hides daily wear better while still reflecting light. One gallon covered my entire kitchen with a little left over.
2. Add Under-Cabinet LED Lighting
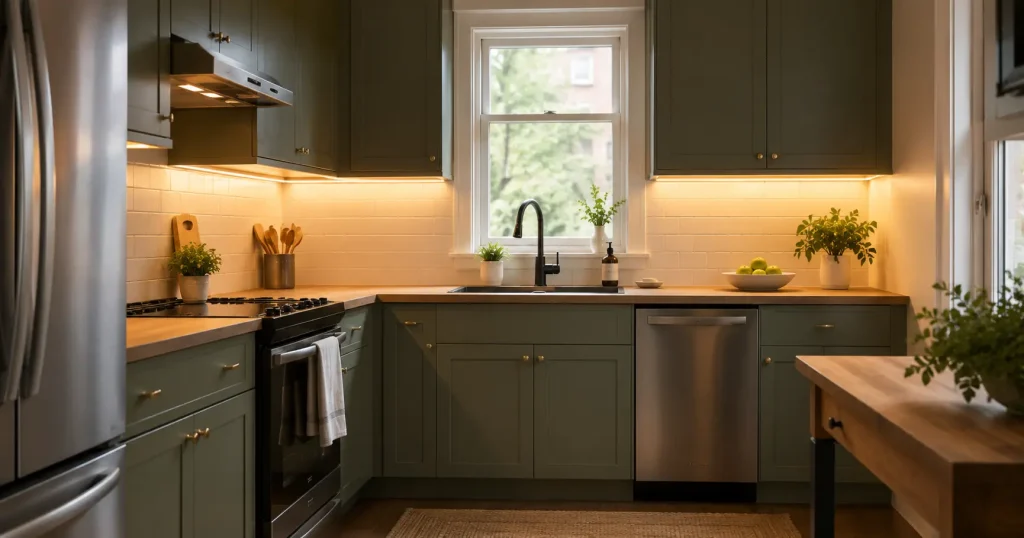
This was the single upgrade that got the most comments from guests. I used a $27 rechargeable LED strip kit (no electrician needed — it sticks under the cabinet and runs on a rechargeable battery pack). It took about 15 minutes to install. LED strips also use a fraction of the electricity of older lighting, per ENERGY STAR’s LED lighting guidance, so it’s a small saving on your utility bill too. Under-cabinet lighting hides the transition between cabinet and counter in shadow, which is one of the things that makes rental kitchens look cheap.
3. Upgrade the Backsplash Without Renovating
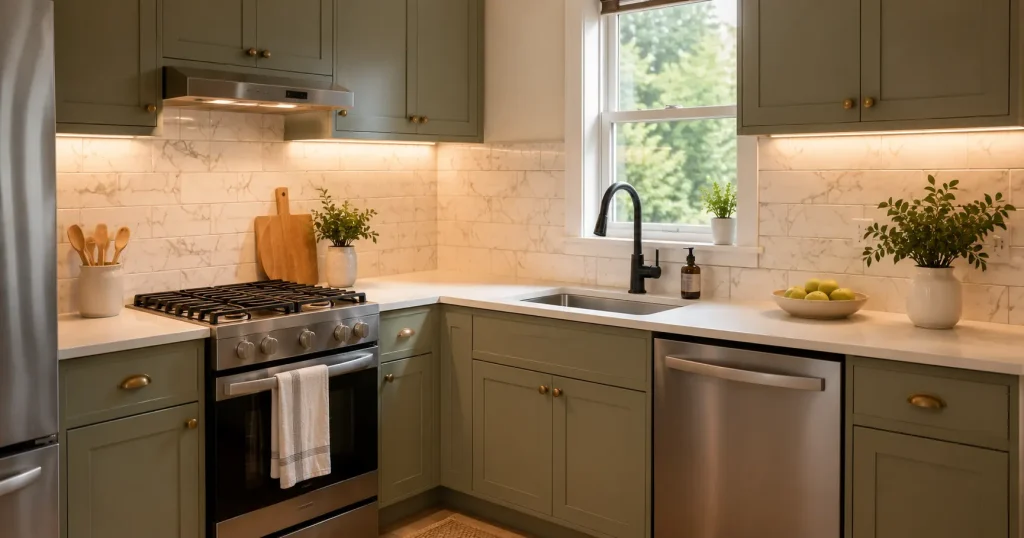
I used peel-and-stick marble-look tiles from Amazon (roughly $22 for enough to cover a standard 4-foot run) instead of a $400+ tile installation. It took one Saturday afternoon. Two years later, mine has held up fine through daily cooking — just avoid placing it directly behind a gas burner without a heat-safe gap.
Comparison — Backsplash Options I Tested:
| Option | Cost | Renter-Safe? | Effort |
|---|---|---|---|
| Peel-and-stick tile | $20–$40 | Yes | Low (1 afternoon) |
| Removable wallpaper | $25–$50 | Yes | Low–Medium |
| Real subway tile | $150–$400+ | No | High (needs a pro) |
For anyone renting, the peel-and-stick route gives 80% of the visual impact for about 10% of the cost and effort.
4. Swap Cabinet Hardware for Matte Black or Brushed Gold
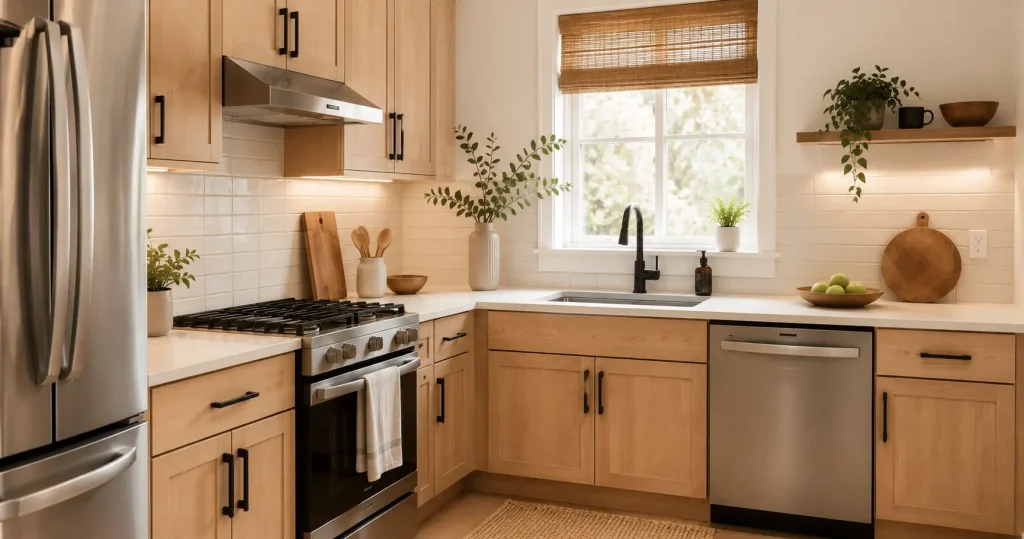
New handles were the cheapest change I made and arguably the most noticeable. A 10-pack of matte black handles runs about $18–$25 on Amazon or at IKEA. This alone changed the entire feel of my cabinets without touching the doors themselves.
5. Install Floating Shelves Instead of Bulky Uppers
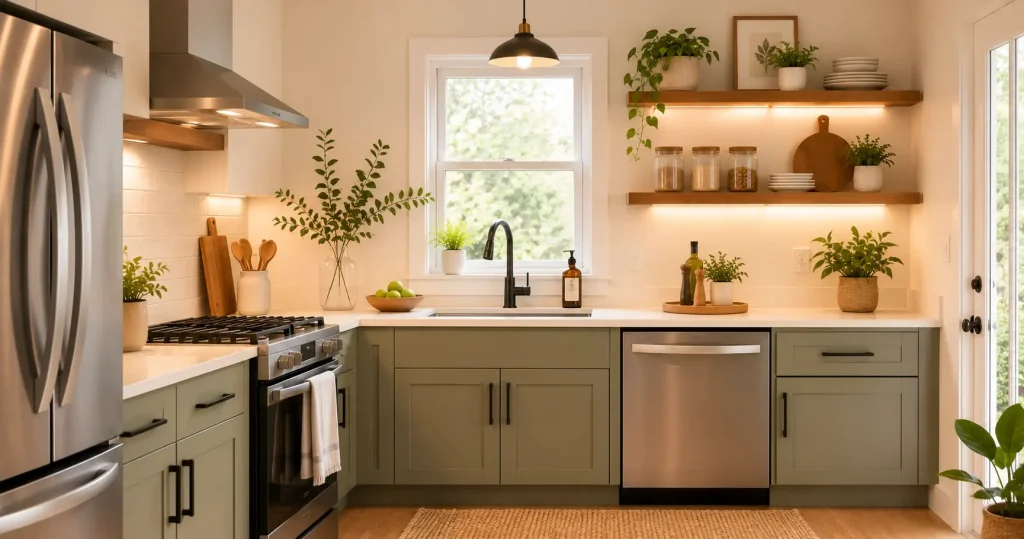
I added two 24-inch floating shelves ($16 each at IKEA) where an old, heavy upper cabinet used to be, making the room feel less boxed in. I keep only what I actually use daily on them — three jars, a cutting board, and one small plant. The rule I learned the hard way: if a shelf has more than 5–6 items, it starts to look cluttered rather than curated. If you want more layout ideas for shelving specifically, our geometric wall shelf decor guide has more arrangements that work well in tight spaces.
6. Keep Counters Almost Empty
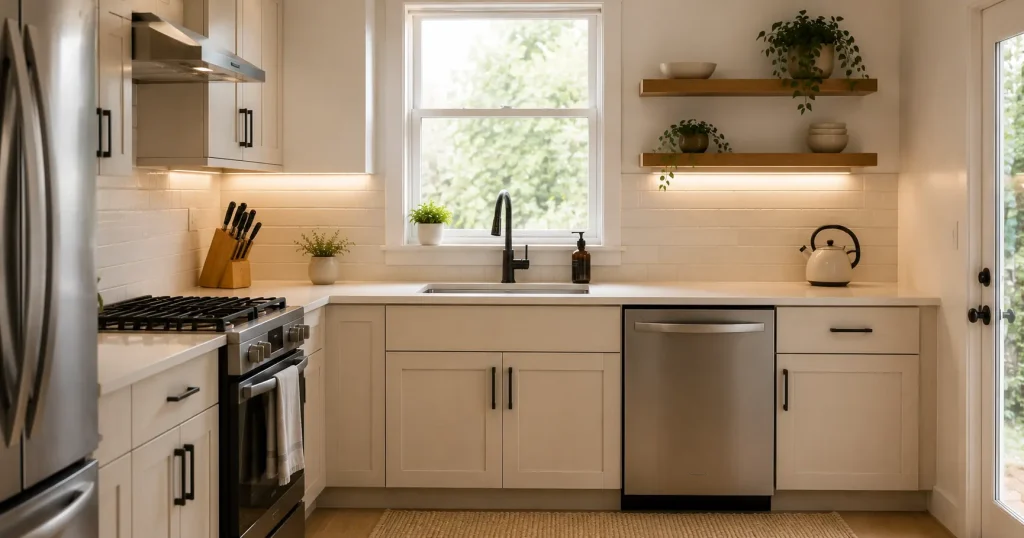
This one costs nothing but discipline. I moved my toaster, coffee grinder, and blender into a cabinet and only keep out what I use every single day — a kettle and a knife block. Clear counters photograph and feel more expensive than any decor item you could add — the same “less but curated” principle we cover in our minimalist bedroom ideas guide.
7. Use Reflective or Glossy Surfaces
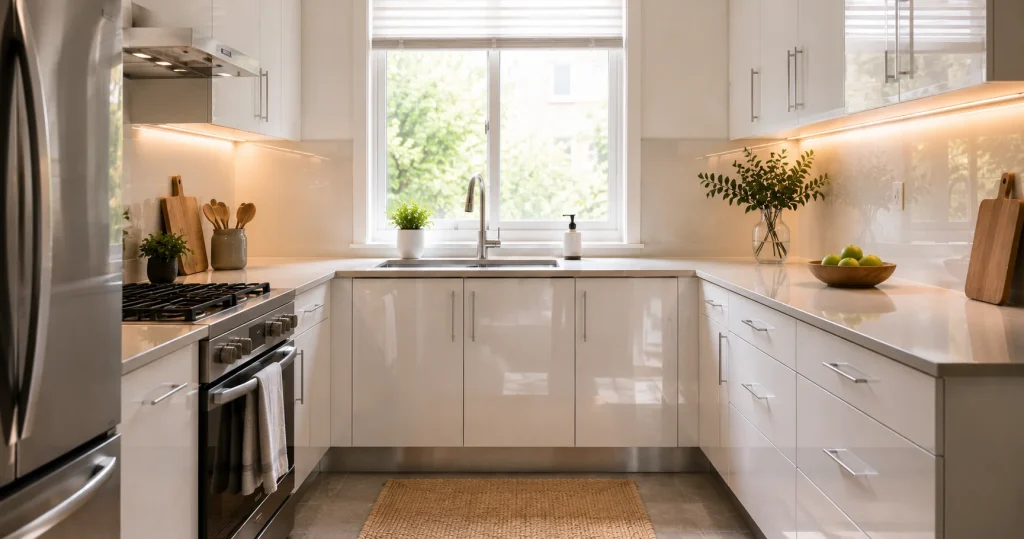
If your cabinets are matte and dated, a glossy contact paper wrap (about $15–$20 a roll) can update them temporarily. I did this on my lower cabinets, and it noticeably brightened a kitchen with only one small window.
8. Bring in One or Two Real Plants
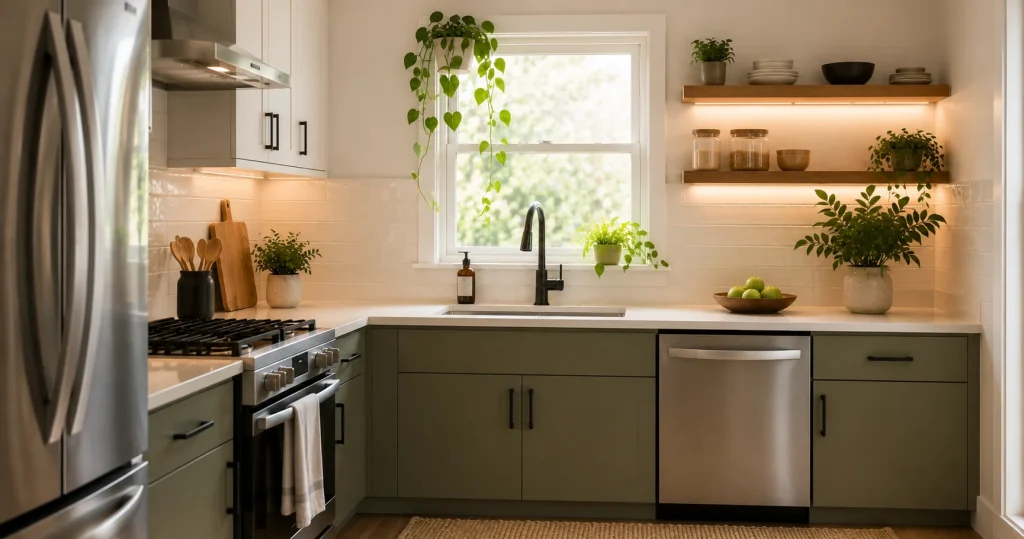
A $12 pothos on my windowsill has outlived three other more expensive purchases. Live plants add texture that fake decor can’t replicate, and they signal a lived-in, cared-for space rather than a staged one.
9. Match Your Storage Containers
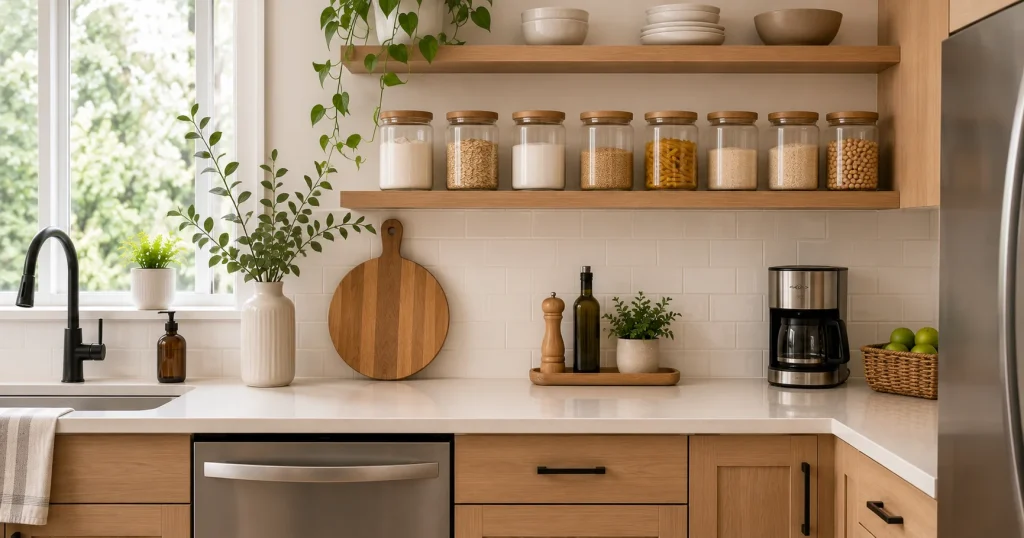
I replaced mismatched plastic containers with a $30 set of stackable glass jars from Target. Visually, uniform containers do more for a “put-together” look than almost any other single change on this list.
10. Add a Slim Rolling Cart for Extra Counter Space
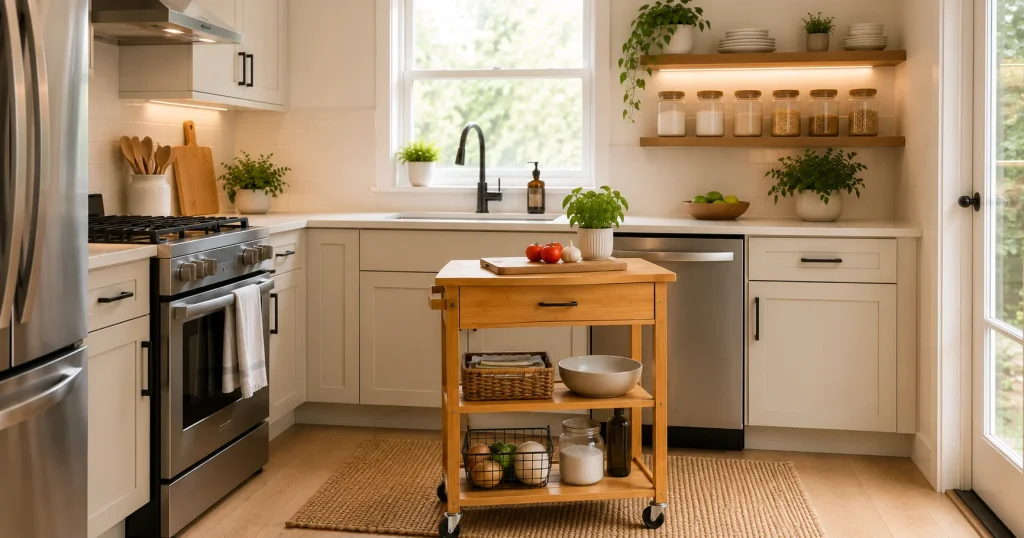
A $45 bamboo rolling cart from Wayfair gave me an extra prep surface and two shelves of storage, and it rolls out of the way when I need floor space. For kitchens under 70 square feet, this made a bigger functional difference than any wall decor.
11. Try Removable Wallpaper on One Accent Wall or Cabinet Face
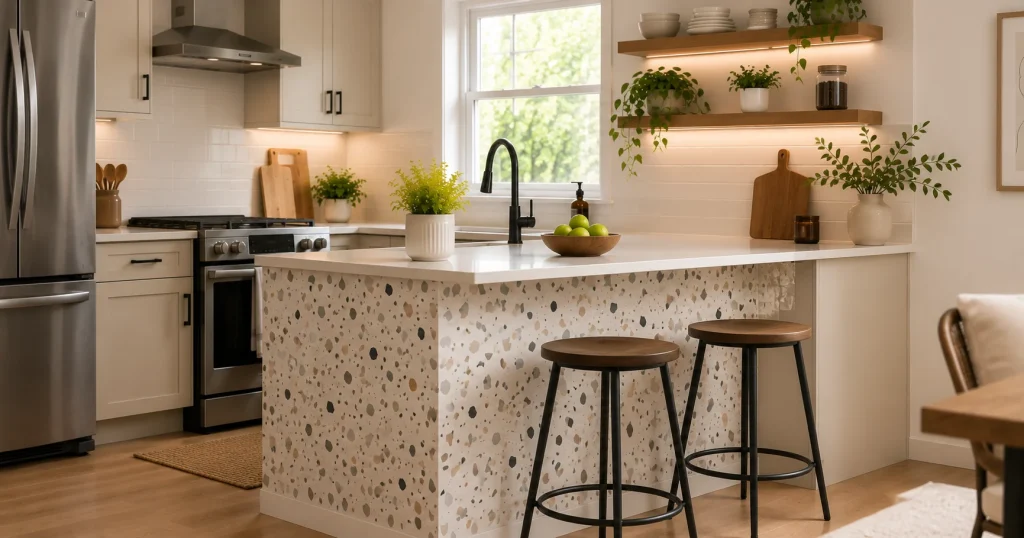
I wrapped just the island-facing side of my lower cabinet in a $28 terrazzo-print removable wallpaper as a statement piece, rather than covering the whole kitchen. One accent surface reads as intentional; wallpapering everything can look busy in a small room.
12. Layer Your Lighting
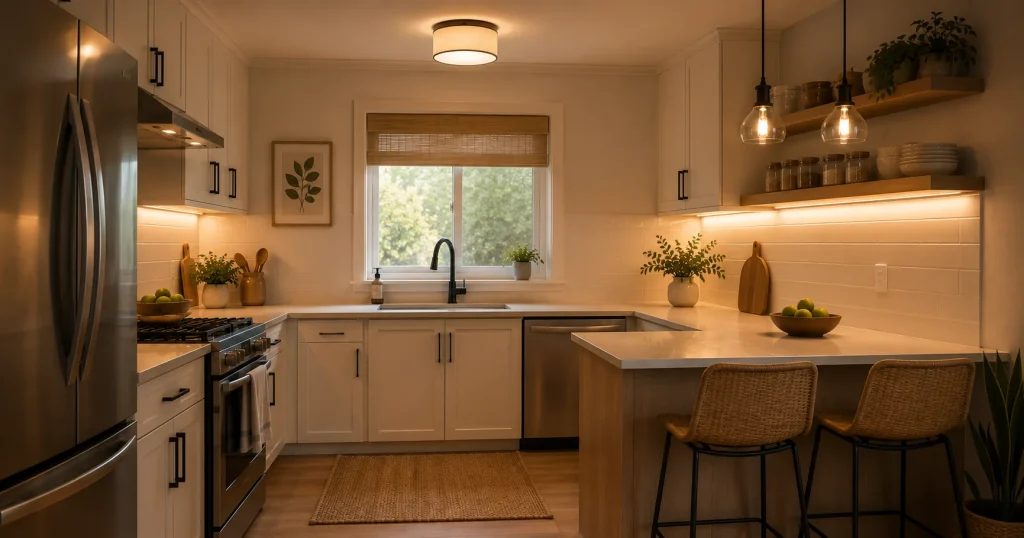
Overhead light alone is the number-one reason small kitchens feel flat and cheap. I combined three light sources: the existing ceiling fixture, the $27 under-cabinet strip from tip #2, and a small $20 plug-in pendant over my two-person counter. Three light sources at different heights is what most professionally designed kitchens have in common, regardless of budget.
My Real Kitchen Makeover: Before and After
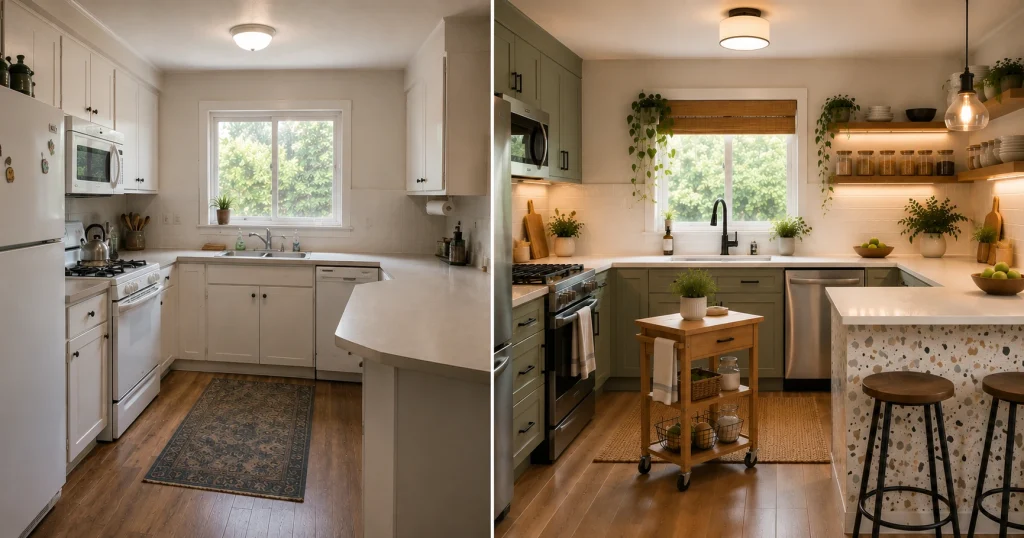
For context, here’s exactly what I spent, in order, over four months:
- Paint (1 gallon): $38
- Under-cabinet LED strip: $27
- Peel-and-stick backsplash: $22
- Cabinet hardware (10-pack): $22
- Floating shelves (x2): $32
- Glossy contact paper: $18
- Glass storage jars: $30
- Rolling cart: $45
- Removable wallpaper accent: $28
- Plant + pot: $15
- Small pendant light: $20
- Miscellaneous (adhesive hooks, mounting tape): $14
Total: approximately $311, not the $640 I mentioned earlier — that figure included a bar stool and curtains that aren’t strictly “decor.” I’m breaking it down here so you can see that a real, expensive-looking result doesn’t require a big single purchase. It’s twelve small ones, spaced out.
Common Small Kitchen Decor Mistakes to Avoid
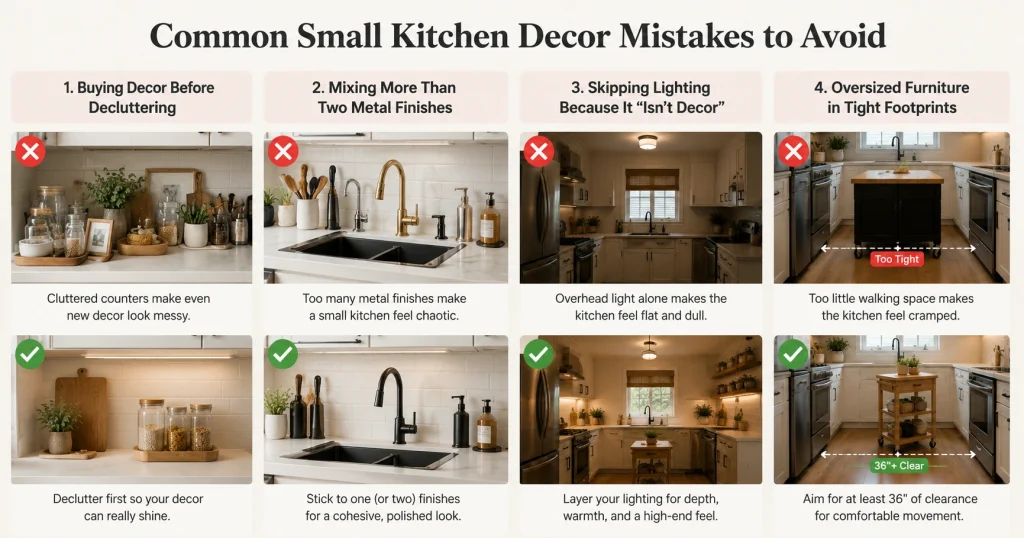
From my own trial and error and from watching two friends redo their kitchens:
- Buying decor before decluttering. I made this mistake first — bought new jars before I’d cleared the counter, and the kitchen still looked busy.
- Mixing more than two metal finishes. I initially had silver, gold, and black in the same small space. Picking one (I went matte black) fixed it instantly.
- Skipping lighting because it “isn’t decor.” Lighting had more visual impact than every decor item I bought combined.
- Oversized furniture in tight footprints. A friend’s kitchen cart was too deep for her walkway; measure your clearance (aim for at least 36 inches of walking space) before buying anything with wheels or legs. The same clearance principle applies in other small rooms too — see our small living room decor ideas for more on furniture scaling in compact spaces.
Small Kitchen Decor Cost Comparison (Budget Planning Table)
| Upgrade | Low-End Cost | What I Paid | High-End (Pro Install) |
|---|---|---|---|
| Backsplash | $20 (peel-and-stick) | $22 | $400+ |
| Lighting | $27 (under-cabinet) | $47 (under-cabinet + pendant) | $300+ (electrician) |
| Hardware | $18 | $22 | $150+ (custom) |
| Shelving | $16/shelf | $32 (2 shelves) | $200+ (built-in) |
| Storage | $25 | $30 | $100+ (custom organizers) |
Final Thoughts
A small kitchen looking expensive isn’t about spending more — it’s about spending on the right three or four things: lighting, hardware, decluttering, and one or two statement pieces. My own kitchen cost just over $300 to transform, spaced out over four months, and it still looks the way it did on day one. Start with lighting and hardware first; everything else is easier to judge once those two changes are in place.
Frequently Asked Questions
How can I make my small kitchen look expensive on a tight budget?
Start with lighting and hardware before anything else — in my own kitchen, those two changes (about $49 combined) had a more visible impact than the $38 paint job. Then declutter counters completely before adding any new decor.
Is peel-and-stick backsplash actually durable, or does it look cheap after a while?
I’ve had mine up for two years with daily cooking and it still looks good, though I’d avoid placing it directly next to a stovetop flame without a small heat-safe gap. It won’t outlast real tile over a decade, but for a rental or a 3–5 year budget solution, it holds up well.
What’s the single best small kitchen decor idea that looks expensive for renters specifically?
Removable items — peel-and-stick backsplash, adhesive hooks, and under-cabinet LED strips — because none of them require drilling or damage the property, and all three are things I personally used and got my full deposit back after.
HOW MUCH SHOULD I REALISTICALLY BUDGET FOR A SMALL-KITCHEN DECOR REFRESH?
Based on my own project, $300–$650 covers a full refresh (paint, lighting, hardware, storage, one or two furniture pieces) if you shop mid-range brands like IKEA, Target, and Amazon rather than custom or designer sources.
Do small kitchens need an island or cart to look finished?
Not always — mine didn’t have room for a full island, so a $45 slim rolling cart served the same visual and functional purpose without blocking the walkway.
About the Author: Emily Johnson writes about budget-friendly home decor for renters and small-space homeowners across the USA. She has personally renovated three rental kitchens using landlord-safe, non-permanent upgrades.

Emily Johnson writes about affordable home styling and budget-friendly decor for Pretty Home. She focuses on practical, easy-to-follow ideas that help homeowners and renters create beautiful, high-end looking spaces without overspending.